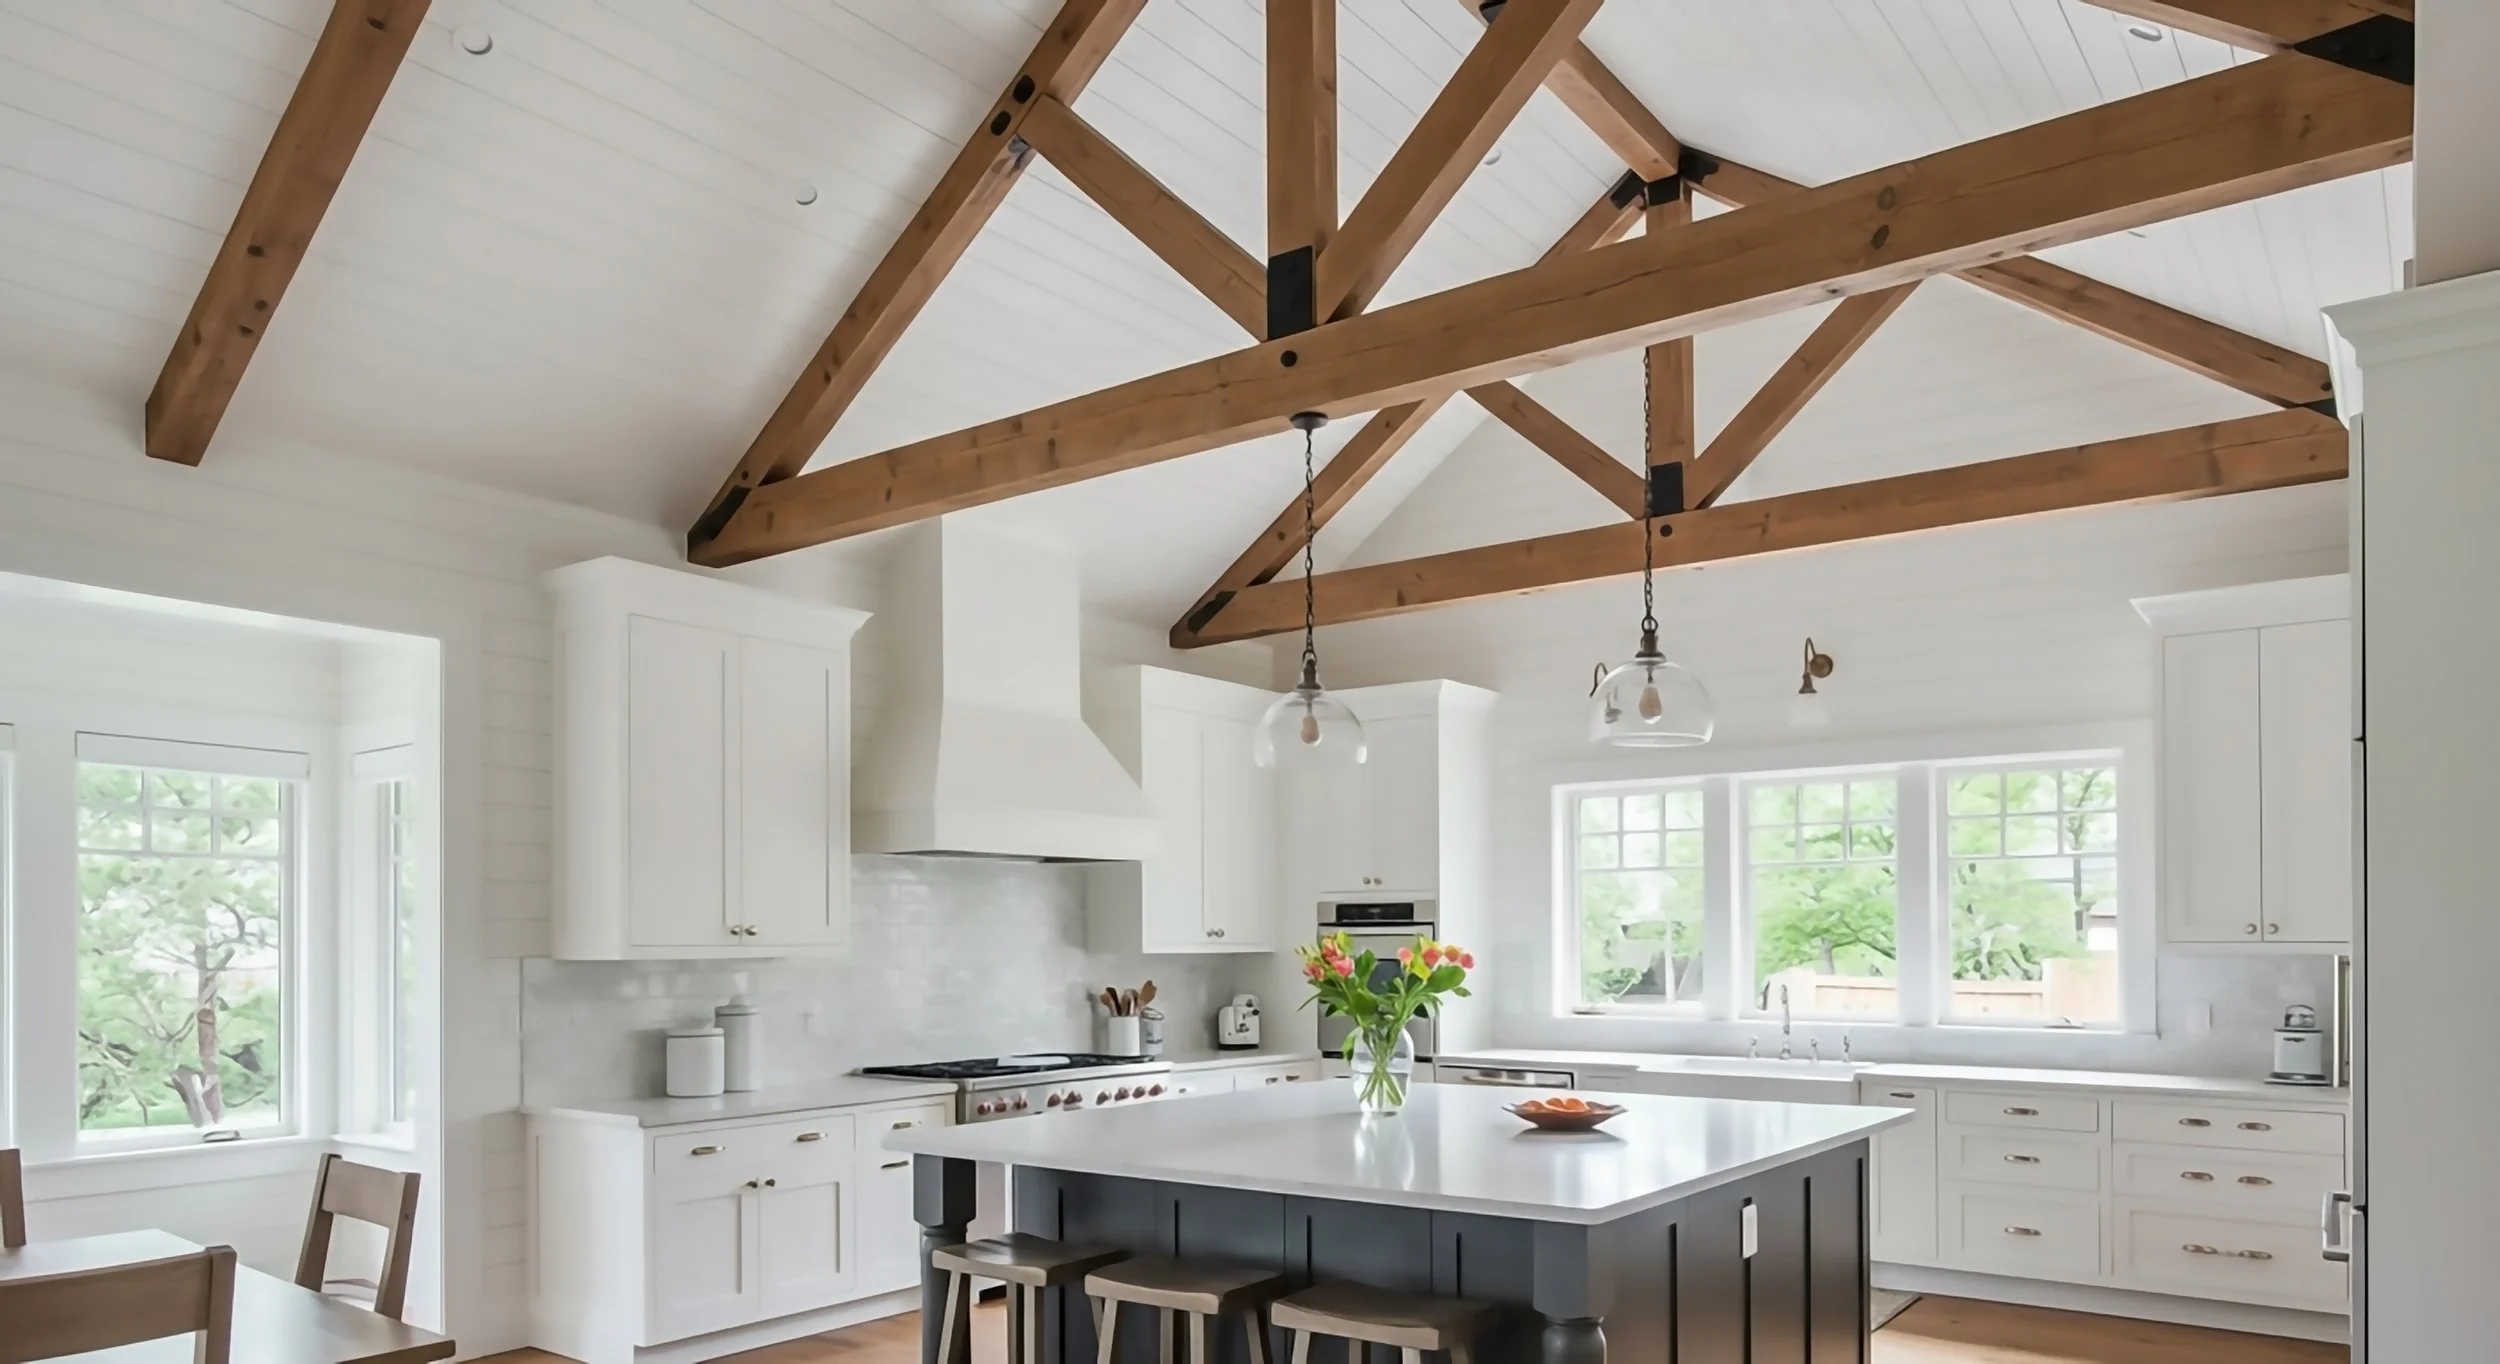
The Hidden Structural and Framing Prep Behind a Custom Kitchen Remodel
When homeowners envision a high-end kitchen renovation, their minds naturally jump to the visible finishes—inset hardwood cabinetry, waterfall quartz islands, hand-painted tile backsplashes, and commercial-grade ranges.
However, the difference between a kitchen that looks great on day one and one that remains flawless ten years later rarely comes down to the cabinets themselves. It comes down to what lies directly beneath and behind them.
High-end kitchen failures—cracked tile grout, binding cabinet doors, sagging islands, and persistent ceiling cracks—are almost never cosmetic. They are structural.
Here is a look at the hidden engineering, framing prep, and mechanical infrastructure required to support a luxury kitchen before a single cabinet box is brought on site.
Subfloor Leveling and Joist Deflection Analysis
Modern luxury kitchens introduce thousands of pounds of concentrated dead load to a home’s floor structure. A typical installation may feature:
3cm solid quartz or natural granite countertops (weighing 15 to 20 lbs per square foot)
Custom hardwood cabinet runs
Heavy sub-zero refrigeration and cast-iron or stone apron-front sinks
Large-format porcelain tile or solid hardwood flooring
Standard residential building codes specify a floor joist deflection limit of L/360 (meaning the floor is permitted to bend up to 1/360th of its span under full load). While L/360 is sufficient to keep a floor from collapsing, it is entirely inadequate for heavy stone countertops and large-format tile.
If a floor deflects too much under heavy loads, tile grout lines fail, natural stone slabs can crack across unsupported spans, and precision-fitted cabinet doors bind as the subfloor settles unevenly.
The Structural Solution
Sistering Existing Joists — Attaching new, dimensionally stable engineered lumber (such as LSLs or LVLs) alongside original floor joists to eliminate sag and increase stiffness.
Upgrading to Deflection Rating L/720 — Stiffening the subfloor assembly to meet double the standard code requirement, ensuring zero movement under heavy stone islands.
Subfloor Planing and Self-Leveling — Sanding down high spots on joists and installing high-strength underlayment to create a perfectly flat plane across the entire footprint.
Load-Bearing Modifications and LVL Beam Engineering
Creating an open-concept layout is one of the most common goals in modern kitchen remodeling.
Removing the wall between a kitchen and a formal dining or living room almost always involves modifying a load-bearing wall carrying roof, upper-floor, or ceiling loads.
Removing a load-bearing wall isn't just about knocking down studs—it requires rerouting the home's structural load path down to the earth:
Roof and Upper Floor Load — Weight originating from the roof structure, ceiling framing, or upper story.
Engineered LVL or Steel Header — Spans the new open area to catch overhead weight.
Multi-Ply King and Jack Studs — Transfers point loads vertically down vertical post packs on either side of the opening.
Floor Framing Transfer — Passes concentrated weight down through the subfloor framing assembly.
Basement Framing and Footings — Grounds the load directly into concrete footings or foundation walls.
The Engineering and Installation Process
Temporary Shoring — Wall systems are built on both sides of the target wall to temporarily support upper floor joists during demolition.
Sizing the Beam — An engineered Laminated Veneer Lumber (LVL) or steel I-beam is calculated based on tributary span weight, snow loads, and second-floor living space mass.
Flush-Mount Installation — Rather than dropping a visible beam below the ceiling, ceiling joists are cut back and hung directly from a hidden, flush-mounted LVL beam tucked entirely into the ceiling cavity.
Point Load Traceability — The heavy weight carried at each end of the new beam must be transferred straight down through solid post packs in the walls, through the floor framing, and onto dedicated support posts or footings in the basement or crawl space.
Mechanical, Electrical, and Plumbing Infrastructure
A high-performance kitchen demands a massive increase in mechanical capacity compared to standard builder-grade space. Rough-in trades must be precisely located to avoid conflicts with custom cabinetry layouts.
Electrical Capacity and High-Draw Circuits
Dedicated Appliance Circuits — High-draw appliances (such as induction cooktops, double wall ovens, steam ovens, and commercial refrigeration) require dedicated 40A, 50A, or multiple 20A circuits.
Under-Cabinet and Architectural Lighting — Recessed driver locations, low-voltage power distribution, and dedicated switching channels must be mapped out to the millimeter so wire feeds emerge precisely inside hidden cabinet light valances.
Countertop Code Compliance — Installing hidden pop-up outlets or under-cabinet power strips to maintain clean backsplash tile runs while adhering to local code spacing requirements.
Ventilation Mechanics and Makeup Air
Rigid Metal Ducting — Smooth-wall rigid galvanized ducting routed directly to the home's exterior—never flexible foil ducting, which traps grease and restricts airflow.
Automatic Makeup Air Dampers — Pulling over 400 CFM out of a modern, tightly sealed home creates negative indoor air pressure. Code and safety mandate installing a motorized makeup air system that automatically opens a fresh-air intake damper to equalize house pressure when the hood fan runs.
Substrate and Wall Preparation for Precision Millwork
Custom cabinets are built in a controlled shop environment using right angles and laser precision. However, older homes are rarely square, plumb, or level.
If custom cabinets are mounted to bowed drywall or out-of-plumb studs, installers are forced to rely on heavy shimming and thick caulking to hide gaps—compromising both the aesthetic and structural anchor of the cabinetry.
The Prep Protocol
Stripping and Sistering Studs — Stripping plaster or damaged drywall on exterior walls back to framing, then straightening bowed wall studs with structural blocking or sistered framing members.
Solid Blocking Installation — Installing continuous 2x6 horizontal backing framing inside wall cavities behind all upper cabinet runs, floating shelves, and heavy range hoods. This guarantees cabinet mounting screws bite directly into solid wood rather than relying on hollow drywall anchors.
Substrate Moisture Testing — Testing masonry and exterior wall assemblies for moisture before insulation and vapor barriers are sealed, protecting custom cabinetry from warping over time.
Structural Precision for Long-Term Value
A true luxury kitchen is a seamless blend of high-end design and disciplined building science.
Long before countertops are template-measured or cabinet doors are hung, rigorous structural prep work guarantees that your investment stays square, flat, stable, and beautiful for decades to come.